
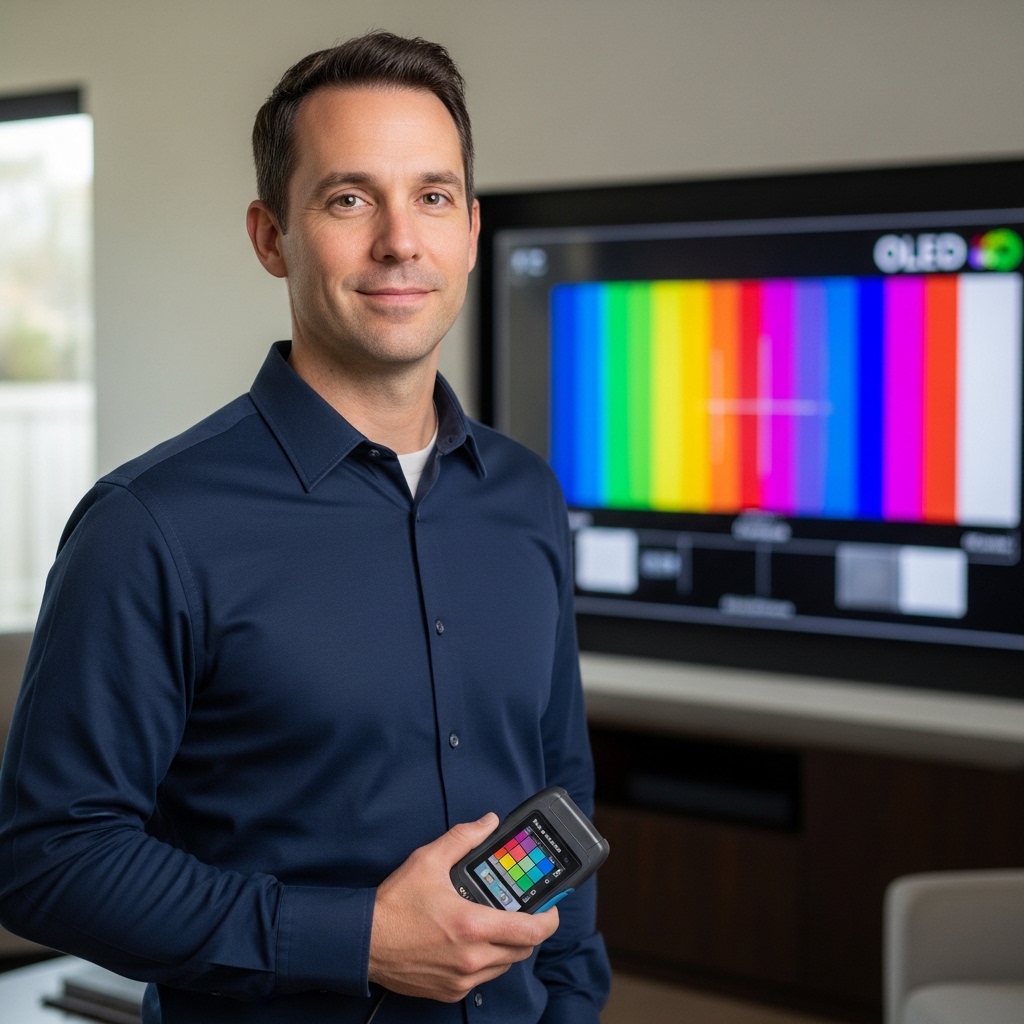

Unboxing an ultra-thin emissive television demands deliberate caution because modern glass displays lack the rigid structural backing common in older LCD sets. Learning how to handle oled tv properly protects delicate self-illuminating pixels, integrated thermal heatsinks, and specialized anti-reflective surface coatings from accidental flexing or pressure damage. Many shoppers setting up budget-friendly OLED displays or flagship entertainment centers assume the chassis can tolerate standard lifting pressure along the outer borders. Pinching the razor-thin upper edge during transit can crack internal subpixel layers or warp the uniform optical filters.
Proper handling involves both physical movement and ongoing operational care. Emissive display panels depend on uninterrupted standby power to run automated pixel cleaning cycles, balanced thermal ventilation, and sensible static logo settings to maintain sustained luminance over years of daily entertainment. High-bandwidth external components such as consoles or dockable gaming accessories also demand careful port management to prevent mechanical strain on rear connection boards. Taking a methodical approach to physical handling and display maintenance preserves pristine dark-room contrast and keeps your screen running at peak performance.


Essential Guidelines for Handling and Maintaining an OLED TV
Emissive displays require a different approach to physical transport, mounting, and software maintenance compared to conventional backlit televisions. The upper portion of an OLED screen is often mere millimeters thick, consisting of bonded glass and organic light-emitting layers without a supportive metal chassis. Understanding the structural vulnerabilities and operational demands of self-illuminating hardware ensures your equipment avoids physical fractures, panel deformation, and premature pixel wear.
Unboxing and Safe Two-Person Lifting Techniques
Unpacking a new OLED display should always be a coordinated two-person task regardless of panel diagonal. Manufacturers package these televisions in two-piece cartons where the outer sleeve lifts straight off the reinforced base tray. You should leave the screen nestled upright in the bottom styrofoam mold until the physical base stand or mounting brackets are fully prepared. Attempting to pull an unbolted panel out from the top of the box increases the risk of flexing the fragile glass substrate.
Lifting the television requires placing your hands exclusively on the reinforced electronics enclosure located across the lower rear half of the chassis. Never pinch, grip, or pull the paper-thin upper edge of the display, as concentrated thumb pressure can delaminate internal optical layers or cause permanent micro-fractures. One person should steady the lower side frame while the other supports the opposite side, keeping the panel perfectly vertical during transit. Tilting or carrying the unit flat like a tabletop introduces severe gravitational torque across the unsupported glass span.
Stand Assembly and VESA Mounting Preparation
Tabletop stand installation is safest when performed while the display rests face-down on a flat, padded surface. You can use the original protective packing foam or a thick, clean blanket laid over a sturdy dining table to cushion the screen. Ensure no stray screws, tools, or debris sit beneath the screen surface, as any point pressure can shatter the glass under panel weight. Align the stand bracket carefully with the internal mounting holes and tighten all fasteners by hand before tightening with a manual screwdriver.
Wall installation introduces distinct mechanical factors, particularly with low-profile brackets and heavy displays. Mounting large-format OLED televisions requires anchoring directly into solid wall studs rather than relying on standard drywall anchors. You must verify that the VESA bolt lengths match the exact thread depth specified in the user manual to avoid puncturing internal power supplies or driving bolts into the back of the panel. Fasten the hanging brackets firmly, confirm level alignment, and lift the assembly into place with two people sharing the load evenly.
Screen Cleaning and Optical Coating Protection
The front glass of an OLED television features specialized anti-reflective and polarizing treatments designed to absorb ambient glare. Standard household cleaning sprays containing ammonia, alcohol, acetone, or abrasive surfactants can permanently strip these delicate optical layers, leaving cloudy smudges or iridescent streaks. Even paper towels or rough cotton rags contain micro-abrasive wood fibers that produce permanent hairline scratches on the glossy surface. Preserving the factory finish requires dedicated cleaning materials and gentle technique.
Routine dusting demands only a clean, dry microfiber cloth designed specifically for photographic lenses or optical glass. Wipe the surface using light, broad strokes in a sweeping motion without applying direct thumb pressure against the panel. For stubborn smudges such as fingerprints, lightly dampen a corner of the microfiber cloth with pure distilled water, gently rub the spot, and immediately dry the area with a dry section of the cloth. Always turn off the television and allow the display to cool down completely before cleaning to avoid moisture evaporation marks.
Standby Power and Automated Compensation Cycles
One of the most widespread operational mistakes is completely disconnecting an OLED display from electrical power when it is not in use. Organic light-emitting pixels experience subtle variations in electrical resistance as they accumulate operating hours. Modern television processors run automatic short compensation cycles in the background immediately after the set enters standby mode, typically after four cumulative hours of viewing. These silent routines scan subpixel voltage across the matrix, redistributing electrical load to maintain pristine panel uniformity.
Connecting your television to a switched wall outlet, master power strip, or automated smart plug that cuts mains electricity interrupts these vital self-healing routines. Over weeks of interrupted standby maintenance, uneven pixel wear compounds, leading to visible vertical banding and persistent image retention. Major refresher cycles also run periodically after hundreds or thousands of operating hours to recalibrate organic layers thoroughly. You should always leave the television plugged into continuous wall power so the internal firmware can manage these protective cycles automatically.
Static Image Protection and Burn-In Mitigation
Permanent burn-in occurs when specific organic subpixels degrade unevenly due to static bright elements remaining on screen for hundreds of cumulative hours. News tickers, video game heads-up displays, persistent broadcast bugs, and computer taskbars represent common sources of uneven subpixel stress. Built-in mitigation tools work constantly behind the scenes to counter this risk without degrading perceived image quality. Enabling features like Pixel Shift periodically nudges the entire video frame by imperceptible margins to distribute luminance across neighboring subpixels.
Logo Luminance Adjustment is another essential onboard tool that detects stationary graphical elements and dynamically reduces their brightness independently of the surrounding video. You should also ensure that connected media streamers, gaming consoles, and internal smart TV platforms have short screensaver timers active. If you frequently pause movies or step away from gaming sessions, an automated screensaver prevents bright stationary artwork from cooking into the emissive layer. Varying your viewing habits between widescreen movies, streaming shows, and games ensures healthy, uniform panel aging across the screen.
Thermal Management and Ambient Lighting Placement
Heat dissipation plays a central role in organic diode longevity and sustained highlight performance. High-end displays often incorporate custom aluminum heatsinks laminated directly behind the panel to draw thermal energy away from the emissive stack. Compact media cabinets with closed backs trap warm air around the chassis, forcing internal thermal limiters to throttle peak screen brightness prematurely. Maintaining at least two to four inches of clear air space around the rear enclosure guarantees proper convective airflow across the cooling vents.
Room placement requires careful positioning relative to direct sunlight sources. Sunlight emits ultraviolet radiation and intense thermal energy that can degrade organic light-emitting materials and alter optical filter polarization over time. Furthermore, panels utilizing quantum dot conversion layers without traditional polarizing filters can exhibit raised black levels and subtle purplish tinting when struck by direct ambient daylight. Position your television perpendicular to primary window light, and utilize blinds or curtains during bright daytime hours to maintain optimal contrast ratios.
Cable Routing and Port Bandwidth Management
Routing external connections demands mindful physical planning to avoid mechanical stress on rear terminal boards. Premium HDMI 2.1 cables supporting uncompressed 48Gbps bandwidth are often thick, heavy, and rigid, exerting persistent downward torque on the input jacks. If your television is mounted flush against a wall, stiff cable connectors can press against the wall surface, bending the internal circuit board contacts. Utilizing flexible cable leads, angled adapters, and secure cable clips along the mounting arm relieves connector strain and prevents intermittent signal dropouts.
Managing high-bandwidth inputs correctly ensures your display handles modern media sources without signal bottlenecks. Configuring external peripherals on dedicated streaming televisions requires identifying which ports support full HDMI 2.1 speeds and dedicated eARC audio channels. High-performance gaming consoles, PC graphic cards, and dockable gaming accessories like Switch OLED handheld controllers connected through USB-C adapters need sufficient interface headroom. Separating your soundbar eARC connection from dedicated gaming ports avoids bandwidth compromises across external media players and consoles.
Brightness Calibration and Automatic Brightness Limiting
Every OLED television utilizes an integrated Automatic Brightness Limiter algorithm designed to protect organic pixels from thermal runaway and excessive power draw. This algorithm monitors the Average Picture Level of incoming video signals, allowing small specular highlights to shine intensely while lowering full-field sustained brightness on broad white scenes like hockey rinks or bright snowy landscapes. Users who set brightness and contrast to maximum values in standard dynamic range viewing unintentionally trigger aggressive dimming during normal broadcasts.
Calibrating your display with calibrated picture modes such as Filmmaker Mode or Cinema Home establishes a natural luminance baseline. Disabling aggressive ambient light power-saving sensors prevents the processor from erratically shifting panel brightness based on room shadows. For standard broadcast television and movies, keeping standard dynamic range pixel luminance at moderate levels preserves punchy contrast while reducing thermal wear on the organic emitters. High dynamic range content should be allowed to track reference curves naturally, delivering impactful specular highlights without overtaxing the power delivery system.
Commercial Mother-Glass Sizing Realities and Placement
Manufacturing constraints dictate exact consumer OLED screen sizes, which derive strictly from standardized mother-glass substrate sheets. Commercial fabrication yields displays in 42, 48, 55, 65, 77, 83, and 97-inch cuts. Shoppers searching for legacy LCD dimensions like 40, 50, 70, or 75 inches must map their spatial requirements to these native OLED dimensions. A 48-inch or 55-inch unit serves as the natural modern replacement for a 50-inch display, while a 77-inch model directly replaces a 75-inch LCD.
Understanding these physical dimensions influences your handling strategy and furniture selection. Compact 42-inch and 48-inch panels are popular choices for desktop setups, where close-proximity viewing requires careful angle adjustments and desk clamp stability. Conversely, large 77-inch and 83-inch panels feature broad surface areas that catch room air currents, making sturdy base footprints or robust wall anchors mandatory. Verifying your media console width and checking weight specifications against furniture ratings prevents tip hazards and ensures long-term structural security.
Routine Panel Inspection and Manufacturer Warranty Coverage
Periodic visual checks help you identify minor uniformity variances or persistent retention before they develop into permanent flaws. You can evaluate panel health by playing clean five percent gray slides and solid primary color test patterns in a dimmed room, watching for dark patches or vertical lines. Avoid running manual deep pixel refresher cycles repeatedly on a weekly basis, as aggressive manual cleaning algorithms deliberately adjust pixel electrical properties and can accelerate panel wear if overused. Reserve manual refresh cycles strictly for instances where visible temporary image retention persists after automated standby cycles.
Understanding your manufacturer warranty terms provides valuable security throughout the lifespan of your display. While entry-tier models typically provide standard one-year parts and labor protection, premium flagship models often include dedicated five-year panel warranties that explicitly cover image retention. Retaining your original sales documentation, registering the product with the manufacturer, and adhering to recommended handling procedures ensures you remain fully protected. Treating your emissive screen with deliberate physical care and sensible operational habits guarantees reference-grade contrast, vibrant colors, and dependable home theater performance across years of daily enjoyment.


Write Your Review
No reviews yet. Be the first to share your experience!